How to apply for a digital nomad visa in 2025
Getting a digital nomad visa isn’t complicated once you know what to expect. I’ve been through it myself and helped friends through it too. While each country has its own quirks, the general process follows a similar path: gather your documents, show proof of income, fill out the forms, and wait. That’s the simple version. But if you want to avoid delays or rejections, it helps to get familiar with what’s really required.
If you’re still choosing a destination, a breakdown of the best countries offering these visas will be available very soon. Some places are more flexible than others, and that can make your life a lot easier.
The application process makes more sense when you fully understand what a digital nomad visa is and why countries offer it in the first place.

Step 1: Make sure you qualify
Most countries offering digital nomad visas ask for similar things:
- A steady remote income
- Clients or employers based outside the country
- Proof of health insurance
- A valid passport
- Clean criminal record (in some cases)
The income requirement varies, but generally falls between $2,000 and $5,000 per month depending on where you’re applying. Some countries also accept proof of savings instead of monthly income.
If you’re a freelancer, make sure your contracts, invoices, or platform earnings (like Upwork or Fiverr) are clearly documented. Remote employees should get an official letter from their employer confirming their job title, salary, and that their work is fully remote.
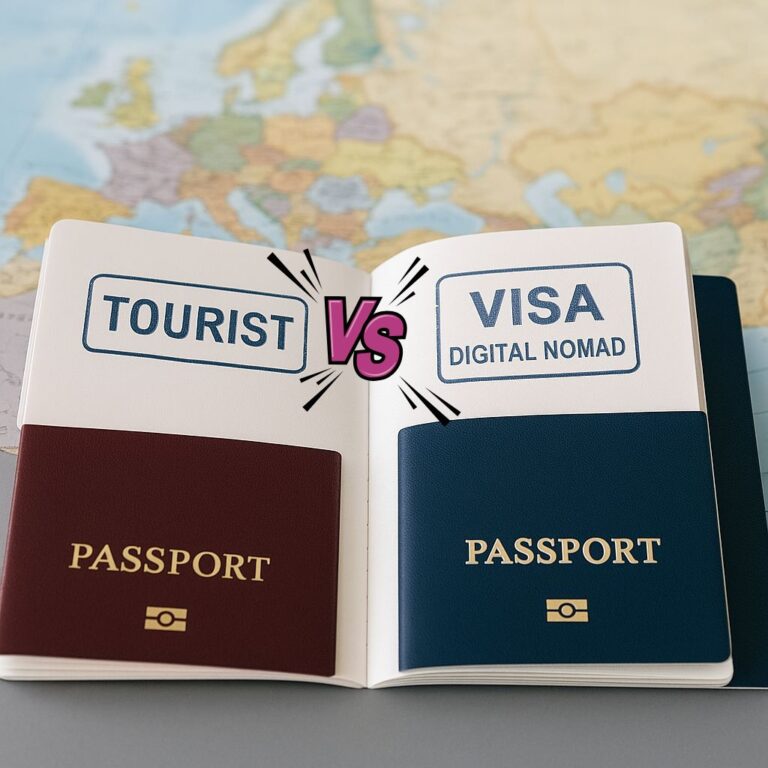
If you’re still not sure whether a digital nomad visa is the right choice for you, a comparison with tourist visas might help you decide.
Step 2: Gather your documents
Once you know you’re eligible, the next step is getting your paperwork in order. Most countries will want to see:
- Passport copy (valid for 6–12 months minimum)
- Proof of income (bank statements, contracts, payslips)
- Remote work proof (employment letter or freelance documentation)
- Health insurance valid in the destination country
- Clean criminal background check (not always, but common)
- Passport-sized photos
- Completed application form
Some countries also ask for a rental agreement or hotel reservation. Even a temporary Airbnb booking is often enough to meet that requirement.
It helps to scan everything in high resolution and store it in the cloud. Having quick access makes the process smoother, especially if you need to re-upload anything.
Step 3: Submit your application
Depending on the country, the application process might be:
- Fully online (Estonia, Croatia, Georgia)
- Hybrid (online form + in-person appointment at a consulate)
- Entirely offline, with physical documents and embassy visits
Always double-check the format requirements. Some platforms have limits on file sizes or ask for specific formats like PDF only.
Application fees range between $100 and $400. You’ll typically pay at the time of submission or once you receive a confirmation of approval.
Make sure all your files are labeled clearly, and don’t wait until the last minute to apply some countries only process a limited number of visas per month.
Step 4: wait for approval
Once your application is submitted, the waiting game begins. Processing times vary wildly:
- Estonia: usually 2–4 weeks
- Portugal or Spain: often 1 to 2 months
- Costa Rica: up to 3 months depending on the time of year
Some countries will email you directly with updates or requests for additional documents. Others won’t contact you unless something is missing, so keep an eye on your inbox (and spam folder).
In my case, when I applied in Croatia, the approval came after 21 days. A friend applying to Portugal had to wait nearly 8 weeks. So expect anything between 2 to 10 weeks depending on where and when you apply.
Once approved, you’ll receive:
- A digital permit (PDF)
- Or a visa sticker for your passport
- Or instructions to finalize things in-person once you arrive
Step 5: Register after arrival
This part is often forgotten but can be mandatory. Some countries especially in Europe require you to register locally once you’re on the ground.
In Portugal, for example, you’ll need to visit the SEF (immigration office) to get your residency card. In Spain, you may need to apply for a Foreigner’s Identity Number (NIE).
This local registration allows you to open a bank account, sign a lease, or access local services. Skipping this step can put you in a legal grey area even if you have a valid visa.
Check ahead if your country requires this step, and book appointments early they fill up fast in capital cities.
Bonus: Avoid common mistakes
Even if your documents are solid, small errors can delay your application or lead to rejection. Based on what I’ve seen and experienced, here are common mistakes to avoid:
- Submitting low-resolution or blurry scans
- Using old or expired financial documents
- Forgetting to translate non-English papers (especially police records)
- Health insurance that doesn’t meet country-specific requirements
- Missing or unsigned forms
- Ignoring local tax implications
Also, don’t underestimate how picky some countries can be about document formatting. Some will reject a PDF if it’s not searchable, or demand a specific type of bank statement.
Make a checklist, verify each file, and if you’re unsure, email the consulate. A quick clarification now saves weeks of delays later.
Final thoughts
The digital nomad visa might seem like just another formality, but it’s more than that. It’s peace of mind. You won’t have to lie at the border about your “holiday,” or worry about getting kicked out after 90 days. You get the freedom to live abroad without constantly looking over your shoulder.
It also opens up practical advantages renting long term, getting local healthcare, or simply focusing on work without stressing about border runs.
And if you’re still wondering whether this type of visa suits your situation, a clear comparison between digital nomad, tourist, and work visas will be available soon to help you make the right choice.